
We know it happens. For one reason or another a child is absent for most of the EYE-TA data collection window. You have a few scores for them, but probably not enough to get a usable report. The scores for all of the other children have been entered, but you don't want to mark each individual item as Exempt for this child.
You now have the ability to add and remove children at any point during the assessment. Removing a child from the assessment list after you've started entering data can save time and reduce confusion. Here's how to do it:
- Find the class in question and click the Manage Child Data and Enter Scores (icon depicting two children) button.
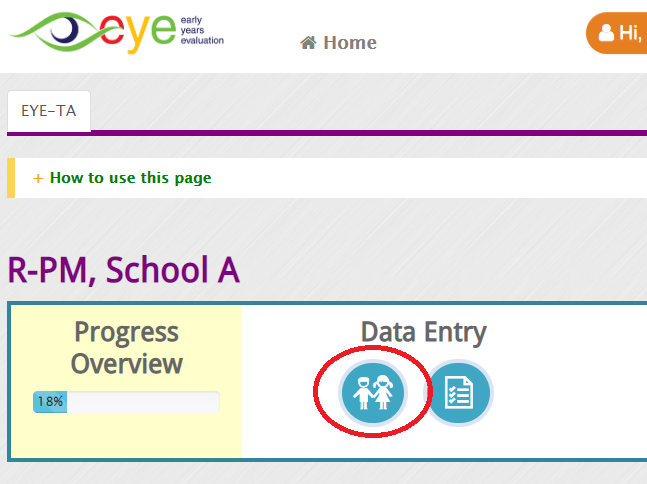
- This will bring you to your ‘Progress Overview’ page for the class. From here click the List of Children button, on the left hand side of the page.
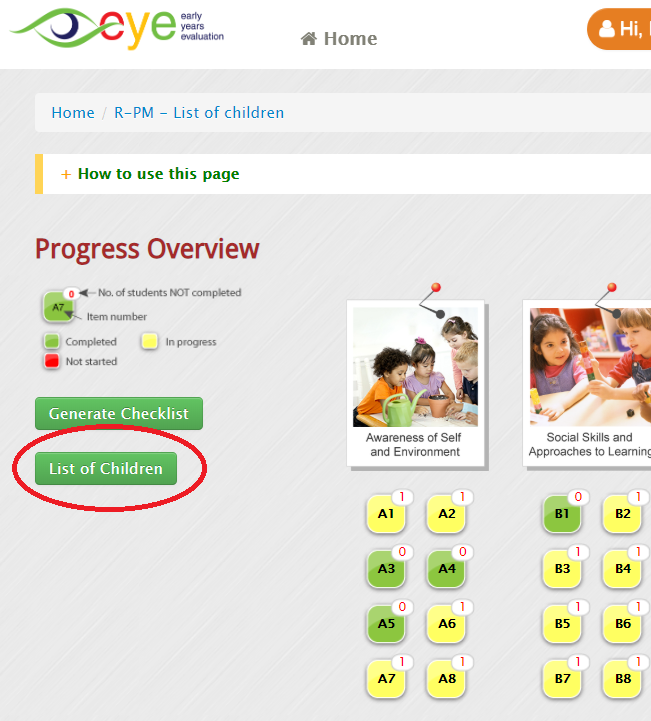
- This will bring you to your ‘Manage Class List’ page where you should see your full class list, including any children who you had already marked off your assessment list. From here, simply locate the child you would like to remove and check either the Moved or Not Assessed box as applicable. You can also leave a short note about why the child was removed from the assessment.
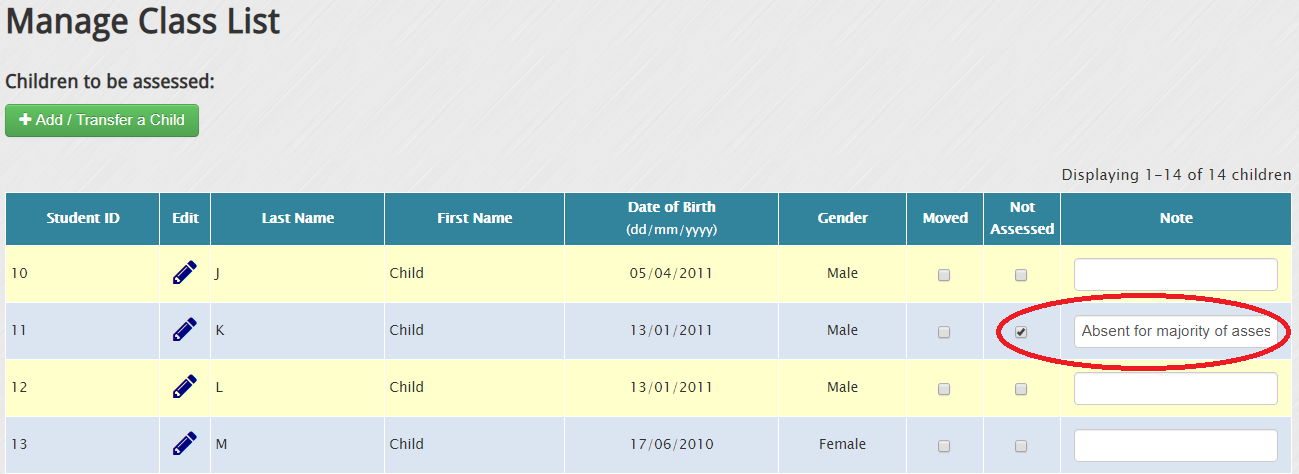
- You can also add a new child to your assessment list from this page, by clicking the Add/Transfer a Child button and entering their info.
- Once you have completed all of the changes you need to make, scroll to the bottom of the page and click the Proceed to Score Entry button and you'll be taken back to the ‘Progress Overview’ page. The child you removed will no longer appear on any of the data entry pages and you can even download a new version of the Teacher Checklist that will not include the child either.

What happens if you complete your data entry and generate the reports only to have the absent child return a week later? You now have the ability to reopen that class after you have generated reports to add new children to the assessment, as long as your jurisdiction's session is still open. Click here to see how.